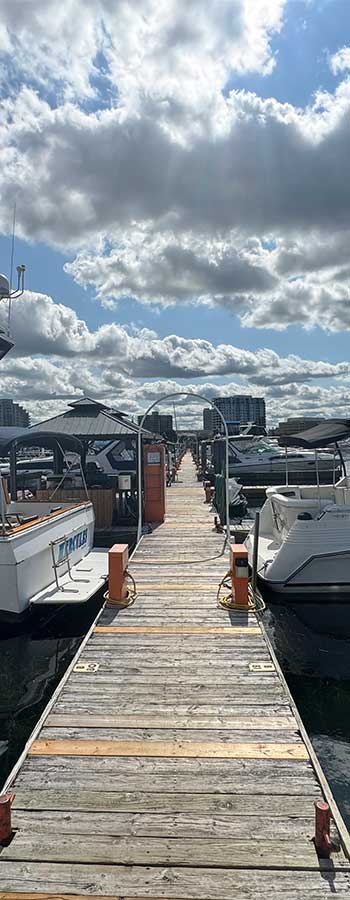
When approaching from the south watch for Andrew S.Brandt Marina at Sarnia Bay's riprap breakwater and the conspicuous silos beyond.
Leave spar “AH2” to starboard, then proceed at no-wake speed along the city’s waterfront, leaving bifurcation light buoy “AHB” (flashing read 2+1) and green spar “AH3” to port.
Come hard left around green spar “AH5” and proceed on 2950T between red spar “AS2” and the breakwater light. The first long pier, with the directional sign and wind sock, is pier “A”
After passing beneath the Blue Water Bridge proceed downriver passed Bay Point and the government dark (large silos).
Continue on, keeping red spar “A62” off the marina’s riprap breakwater to port and head toward bifurcation light buoy “AHB” (flashing red 2+1).
Go around “AHB”, keeping it to port, and proceed at no-wake speed north along the city’s waterfront, leaving green spar “AH3” to port.
Come hard left around green spar “AH5” and proceed on 2950T between red spar “AS2” and the breakwater light.
The first long pier, with the directional sign and wind sock, is pier “A”
Keep pier “A” to port, head toward the marina office, where the fuel dock sits just to its right.
Take Hwy 402 to the Front St. Exit (Last exit before you get to the Bluewater Bridge)
Take the Bluewater Bridge and exit at the Front St. Exit